Lessons from CalyxOS signing process redesign
- This post is based on the talk our team gave at FOSDEM 2026.
- It provides a deep dive into our HSM-based signing redesign.
- Video recording of this talk is available here.
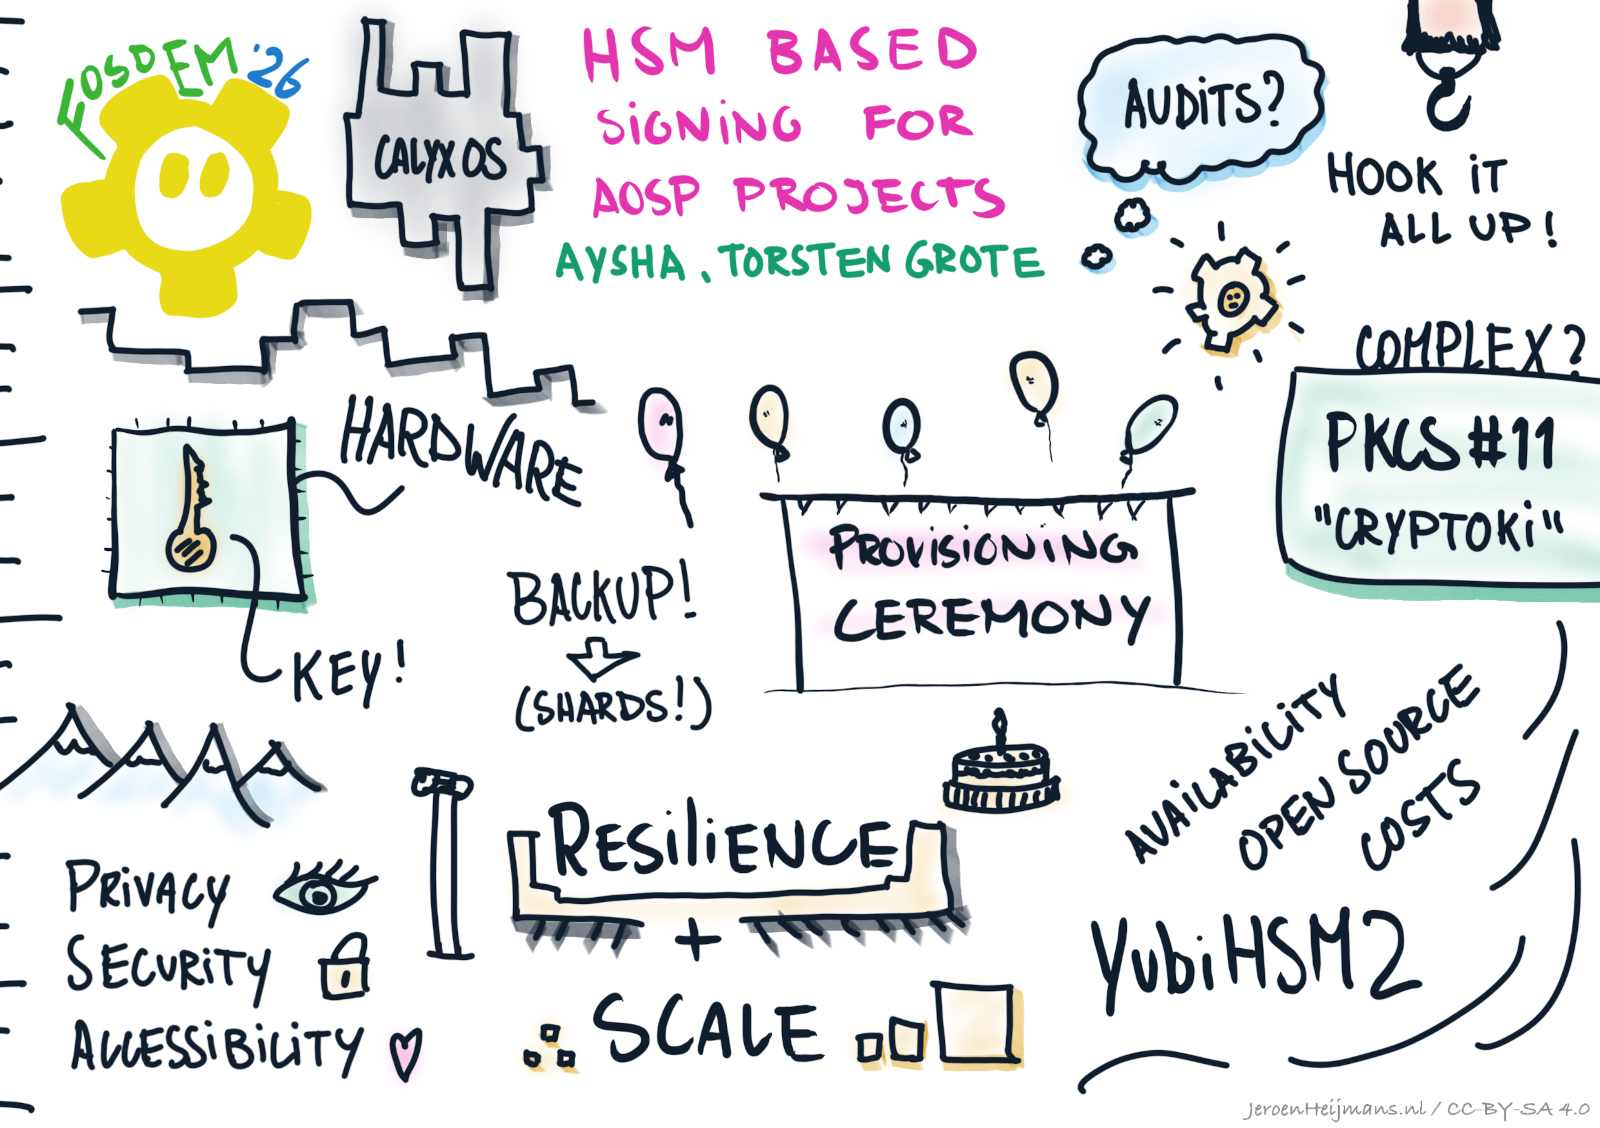
Image created by Jeroen Heijmans
Why are we using a HSM?
Code signing is commonly used to cryptographically verify the origin of software. A typical Android build consists of many individually signed pieces, which requires a significant amount of signing keys. Among these keys, the most important is used for verified boot, which establishes a full chain of trust for all parts of the operating system.
Each key comes in two parts: the certificate and the private key. Developers use the private keys to make the cryptographic signatures, which need to be stored somewhere. This is typically a file on a storage medium. However, if anyone gets a copy of that file they can make valid signatures indefinitely and there is no way to stop them. It is impossible to verify where there are any copies of the key file, where they exist, or who has access to them. That is quite a risk. It also makes giving more than one person access to the keys quite challenging and thus is bad for your bus factor.
To improve the security, you can store keys in special hardware security modules (HSMs) instead of files on a computer. These modules use tamper-resistant storage hardware that makes it extremely hard to extract private keys without authentication. Even though it may be possible for powerful actors, such as nation-state intelligence, to extract key material if they gain physical access to the module, a HSM is still much more secure than storing keys as files on a computer.
A common use-case for HSMs is to simplify and automatize signing of build artifacts in a continuous integration environment (CI). An attacker that compromises the CI machine could make malicious signatures. If you stored your signing key in a file that is extractable in plaintext, you have no choice but to generate new signing keys. But with a HSM, if you detect the breach, you can stop the attacker by preventing their access to the HSM.
Note that for now, CalyxOS has no plans to automate signing in this way. We will start with manual signing on a dedicated and secured machine where the HSM is only connected when needed.
Defining criteria for secure signing operations
By now, it is evident why new keys were needed; generating fresh keys gave us a clean slate with no unknown copies floating around, and allowed us to fully control the redesign and safety of our new signing solution. Next, we defined the criteria for the hardware backing our HSM solutions; you can find the criteria in our November 2025 community update. This set of criteria helped us reach our goals in three categories: security, operational practicality, and transparency. Many solutions, while meeting our security requirements, were not immediately available, financially affordable, auditable, or aligned to our organizational mission to promote and advance open-source tech.
Our process of evaluating options for the secure signing operation involved many discussions and trade-offs until we could make technical decisions. We looked into cloud-based HSMs, such as the Amazon Cloud HSM, enterprise-grade appliances, such as Thales Luna HSMs and Entrust nShield, and more affordable options, such as Nitrokey NetHSM. Also considered were smaller hardware dongles, such as the YubiHSM 2 and the Nitrokey HSM 2.
We decided to start with a simpler, HSM based, intermediate solution with a quick startup path that would let us soon start signing releases with new keys. That being said, we built in a migration path to a better or final signing solution.
In the end, we decided to start with the YubiHSM 2.
Key wrapping: A secure way to manage keys with limited storage space
It is worth noting that YubiHSM 2 has very limited storage space. It cannot fit all the signing keys required to sign our builds since we use a unique key for each device and different components. This issue is not unique to CalyxOS, it also applies to other projects that need lots of keys, e.g. F-Droid.
Thankfully, there is a solution for this problem called key wrapping. Keys that don’t fit on the HSM can be stored outside, encrypted. When you need to use them, you can import them into the HSM and decrypt them inside. The key that encrypts and decrypts the signing key set, called the wrap key, is always stored securely inside the HSM. This way, signing keys are never available in plaintext outside of the HSM.
Key backup: Why and how?
When using HSMs, there is always a possibility they might break, fail, or get stolen, necessitating a plan to securely backup the keys. The actual signing keys are only available outside of the HSM in encrypted form, so you can back them up in the same way as you back up other files. Still, for the signing keys to be useful, we also need the wrap key, which is only available inside the HSM. Of course, a plaintext backup of the wrap key needs to be avoided, because it re-introduces all the same problems the HSM was supposed to solve.
The best option we found was Shamir’s Secret Sharing (SSS). This sharing algorithm was first developed in 1979. With this technique, we split the wrap key up into several parts, also known as shards. The wrap key could only get reconstructed when a pre-defined number of shards were present. We opted for five shards with a threshold of three shards required to recover the wrap key. Instead of relying on one person to securely back up private keys, we rely on a group of three out of five people to keep each of their shards safe and only ever combine these in a special ceremony.
Key provisioning ceremony
Somehow, the key material needs to get into the HSM. This could be for restoring a wrap key backup as stated above or when generating the initial key material. Unfortunately, the YubiHSM 2 doesn’t have SSS implemented in its firmware and even the official setup utility briefly holds the wrap key in memory, splits it into shards, and imports it back into the HSM. So for both cases, we need a secure ceremony that tries to ensure that key material can not leak in any way.
As you can see in our last community update, we spent quite some time in designing, testing, reviewing, and preparing for the key provisioning ceremony. And the whole key ceremony package was audited by Trail of Bits. You can find their audit report.
The ceremony taught a few practical lessons. To prevent a targeted attack from compromising the machine used in the provisioning ceremony, we bought a compatible device from a randomly selected store immediately beforehand. To establish a trusted and secure environment, we used an epheremal live OS with a good security track record: TailsOS. Using TailsOS on a random out-of-the-box machine came with its own constraints; we needed to use a DVD as our initial data medium for ceremony scripts and TailsOS files. Prior to creating the bootable TailsOS flash drive, we also needed to verify the integrity of the live medium on Windows, the out-of-the-box operating system. Our specific solution was to create a reproducible .iso file and burn that onto a DVD. Then, in Windows, we used powershell commands, which ware also used in the Juicebox HSM Key Ceremony, to compute the SHA256 hash of the entire drive. The operator confirmed the hash by reading it aloud in front of all ceremony participants for everyone to verify the hash of our .iso file:
4b1f31960c64fe0bf5bb7087f8d06923cce611a795f510f028fe3811b4c25847
If you are interested, you can reproduce this hash on your own computer following our instructions.
After verifying the DVD and the files stored on it, we created a live Tails drive with a flash drive we (also) bought randomly. To ensure security, we made sure to keep the ceremony computer offline throughout the entire procedure, from the initial Windows Setup Wizard to the running of the ceremony scripts on TailsOS.
The next step was rather quick and smooth as we booted into the Tails drive to run the audited scripts from the DVD to set up two HSMs, one for operation and the other for backup. We did a physical factory reset for both the YubiHSM 2 devices and turned on auditing (you can find more about this in the following paragraphs). The script then created three authentication keys: one for the signing operator, one for the admin, and one for the auditor.
The wrap key was then created in the HSM, split into shards, and imported into both HSMs. The shards and the authentication keys were encrypted to pre-defined public keys using age.
Android signing with PKCS#11
All tools involved in Android signing support PKCS#11, an OASIS standard, C interface to let software communicate with a HSM and also referred to as Cryptoki. It is a common choice when replacing signing keys in files with an HSM. However, we couldn’t find out-of-the-box PKCS#11 solutions for signing Android builds. As far as we know, we were the first Android ROM building a complete PKCS#11 Android signing solution and documenting it. It was possible that bigger OEMs had been taking this route to sign their builds with HSMs. Or at least we hope so.
Android’s entire signing process is quite complex. It is not only about signing lots of apps, but apps inside partitions that get unpacked, repacked after all contents have been signed, and finally signed themselves.
There are three different tools used throughout the signing process: apksigner, signapk and OpenSSL. All of them need to get hooked up to use our HSM but each is used in their unique ways and troubleshooting tool-specific bugs takes time.
For example, apksigner was using a PKCS#11 module, but it didn’t close sessions, which caused a denial of service because of the limited number of open sessions allowed and the long timeout. To add to this, we found signapk quite buggy and not usable with strictly PKCS#11-compliant solutions. So we had to switch to using apksigner instead. It remained unclear to us why Google would use two different tools here when one could simply do the job.
Other changes we made included performance improvements. For instance, apksigner would load the entire key store at each start. If the keys were on the HSM, this would take a long time. Since we used apksigner a lot, we added a batch mode to it.
We also disabled V1 signatures for our apps. V1 signatures require a lot of HSM operations (one for each file in the APK). Plus, it is not needed in recent Android versions.
The next steps for us include continuing the code cleanup, revising the changes with better, more sustainable logic, and further improving signing performance by using a signing cache (so that signing the same component will use the same HSM and key only once).
All of our source code for the above is free and open-sourced. We invite all custom ROM development teams who are curious about signing with HSMs to contact us and collaborate. You can find links to them at the bottom of this post.
Auditing
Keeping the signing keys safe with a multiparty backup approach was important but we wanted to go further. Being auditable at all times was another important goal for us to improve our signing design; specifically addressing the issue where whoever performed the actual signing with the HSM would still hold significant power. While they could not extract the signing keys themselves, they could sign arbitrary things with those keys, such as a malicious app. With a valid signature, an imposter app can replace the real app installed on a victims’ device.
With this in mind, we aimed to audit all signing operations, which led us to the discovery of more limitations of the YubiHSM 2. Similar to the limited key storage, the space for saving the audit log is equally limited. If you don’t want to lose logs you need to regularly fetch logs from the HSM. Since we enabled a force-log mode, a full log would cause a denial of service. This was where some of our own toolings came in; we intercepted every signing command and ensured that logs would get flushed to a file on disk. The audit logs were then pushed to an append-only git repository where CI would automatically verify the hash chain of signing log.
Even with these logs, there were still room for improvement: the audit log on the HSM wasn’t cryptographically signed and we needed extra steps to verify the log in the git repo against the one in the signing artifacts. Since the log contained sparse information, we would need to manually retain all signed artifacts to properly investigate a potential incident. Despite the improvements we are planning, this has got us a head start in reviving CalyxOS.
This project came to fruition with the support of many open-source tools. We would like to thank the tool developers, our security auditors, and everyone who has contributed to this work along our journey. The talk was presented by aysha and Torsten Grote on the CalyxOS team with a special thanks to t-m-w.
If you are curious about our work and want more details, you can check out our PKCS#11 documentation and provisioning documentation on this topic. All of our signing-related scripts can be found here.
Here’s a list of patches we had to make to AOSP:
- Add PKCS#11 signing support
- Add argument to keep temporary files
- Don’t add quotes around signing_args
- Use apksigner for most APK and APEX signing
- Add option to use a signing command interceptor
- Add support for a signing command interceptor
- Add alignment override option like signapk
- Log out of SunPKCS11 on exit
- Add batch mode to reuse loaded keystore
If you have more questions, feel free to get in touch with us.